Rubber Roof Leak Repair Services Overview
Visitors can learn about nearby contractors who specialize in rubber roof leak repair and how they can help address roof issues effectively.
- - Residential property owners seeking reliable rubber roof leak repair services in their local area.
- - Commercial building managers needing expert contractors to address rubber roof leaks efficiently.
- - Property managers looking to connect with local service providers for quick and effective leak repairs.
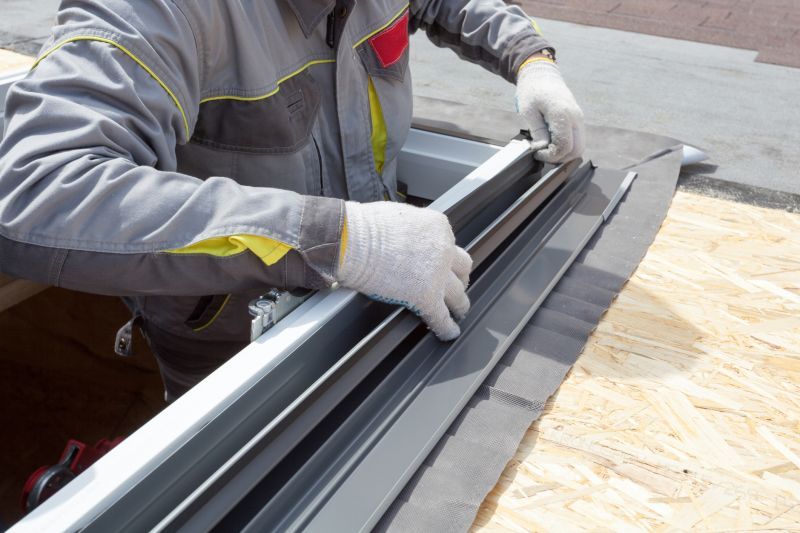
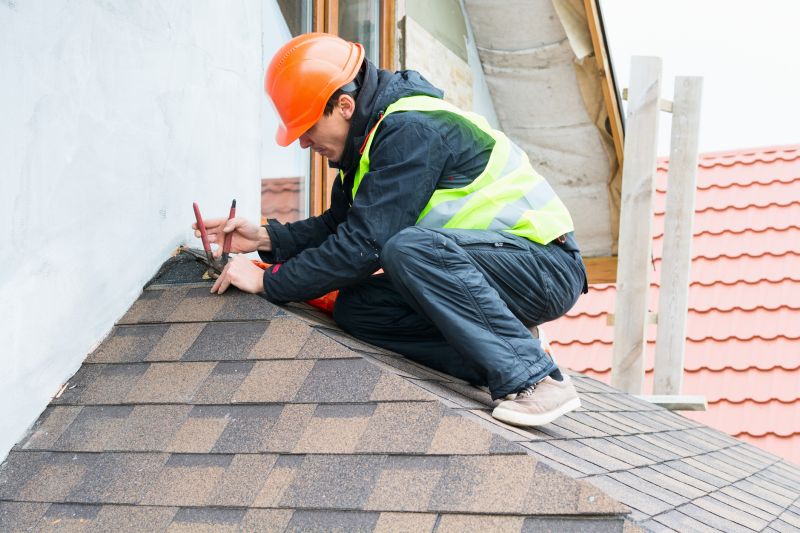
Rubber roof leak repair services are essential for property owners experiencing issues with water intrusion or damage caused by compromised roofing materials. When a rubber roof develops leaks, it can lead to significant damage if not addressed promptly. Local contractors specializing in rubber roof repair are equipped to assess the condition of the roofing system, identify the source of leaks, and perform the necessary repairs to restore the roof’s integrity. These service providers typically handle a variety of repair needs, from patching small tears to sealing larger areas affected by weather or age.
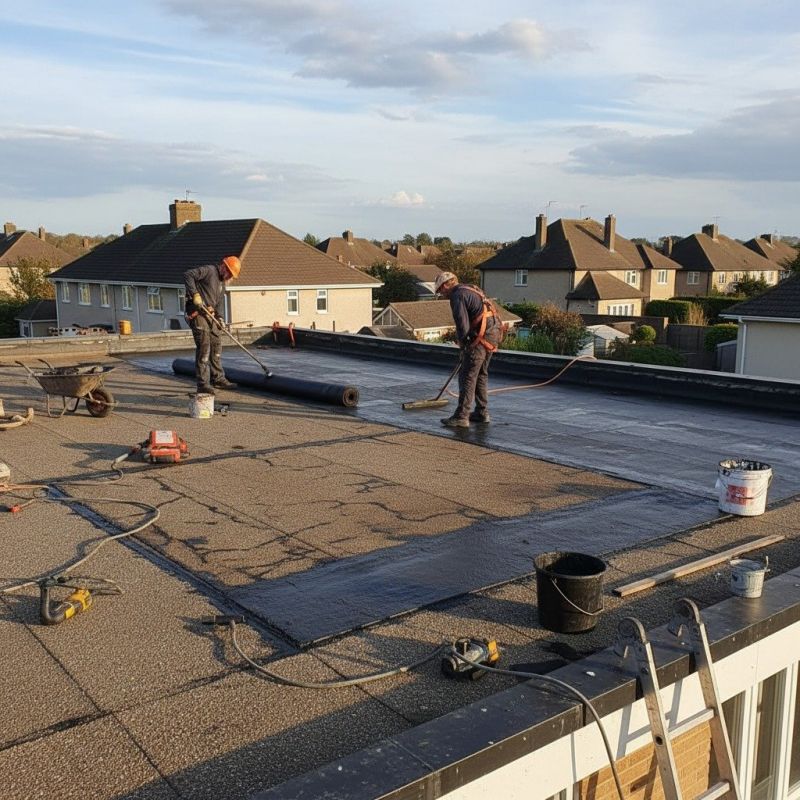
Homeowners and business owners seeking rubber roof leak repair often turn to local service providers for their expertise and familiarity with regional roofing conditions. These professionals can provide inspections, repairs, and maintenance tailored to the specific needs of each property. Connecting with experienced local contractors ensures that the repair work is performed efficiently and effectively, helping to protect the property from further water damage and prolonging the lifespan of the roof.
This guide helps homeowners understand the key factors involved in rubber roof leak repair, making it easier to evaluate options. It provides insights to compare local contractors and connect with experienced service providers. By understanding the process, visitors can better communicate their needs and find the right professionals for their project.